SpiderFoot
Description
What is SpiderFoot?
SpiderFoot is an open source footprinting tool, available for Windows and Linux. It is written in Python and provides an easy-to-use GUI. SpiderFoot obtains a wide range of information about a target, such as web servers, netblocks, e-mail addresses and more.
Modules
SpiderFoot scanning functionality is broken up into modules that communicate using events. The modules are as follows:
- sfp_dns: Performs a number of DNS checks to obtain IP Addresses, MX/NS records and Affiliates.
- sfp_geoip: Identifies the physical location of IP addresses identified.
- sfp_googlesearch: Some light Google scraping to identify links for spidering.
- sfp_mail: Identify e-mail addresses in any obtained web content.
- sfp_pageinfo: Obtain information about web pages (do they take passwords, do they contain forms, etc.)
- sfp_portscan_basic: Scans for commonly open TCP ports on Internet-facing systems.
- sfp_ripe: Queries RIPE to identify netblocks and other info.
- sfp_similar: Search various sources to identify similar looking domain names.
- sfp_spider: Spidering of web-pages to extract content for searching. Probably the most important module.
- sfp_stor_db: Stores scan results into the back-end SpiderFoot database. You will need this unless you are debugging.
- sfp_subdomain: Identify hostnames / sub-domain names in URLs and obtained content.
- sfp_websvr: Obtain web server banners to identify versions of web servers being used.
- sfp_xref: Identify whether other domains are associated ('Affiliates') of the target.
Notice that SpiderFoot is extensible and you can write your own modules.
Elements
Modules provide data elements (IP address, URL, netblock, ...). A module can listen for certain elements, received as events, and then act upon them to generate events that other modules consume. The different elements produced are:
- AFFILIATE: The data element is highly related to the target, either a dependency or similar.
- EMAILADDR: An e-mail address associated with the target.
- GEOINFO: A physical location (country) a target IP address was found in.
- HTTP_CODE: The HTTP return code (404, 200, etc.) resulting from a request to the target.
- INITIAL_TARGET: The target supplied by the user via the SpiderFoot UI.
- IP_ADDRESS: An IP address a target sub-domain/host was found on.
- NETBLOCK: A netblock owned by the target.
- PROVIDER_MAIL: Email gateway (MX records in DNS for the target.)
- PROVIDER_DNS: DNS servers (NS records in DNS for the target.)
- LINKED_URL_INTERNAL: An internal URL linked within the target.
- LINKED_URL_EXTERNAL: An external URL linked to from the target.
- RAW_DATA: Raw data from a page fetched from the target and from other queries.
- SUBDOMAIN: Subdomain/hostname found on the target.
- SIMILARDOMAIN: A domain similar to the target domain.
- TCP_PORT_OPEN: An IP:Port combination found to be open on the target.
- URL_FORM: A URL on the target that contains a form for submitting data.
- URL_FLASH: A URL on the target that contains Flash components.
- URL_JAVASCRIPT: A URL on the target that contains Javascript.
- URL_JAVA_APPLET: A URL on the target that contains a Java applet.
- URL_STATIC: A URL on the target that is purely static (no dynamic content.)
- URL_PASSWORD: A URL on the target that accepts passwords.
- URL_UPLOAD: A URL on the target that accepts file uploads.
- WEBSERVER_BANNER: The web server reported to be hosting content on the target.
- WEBSERVER_HTTPHEADERS: The full set of HTTP headers from the target.
- WEBSERVER_TECHNOLOGY: Web technology (e.g. PHP, ASP.NET, etc.) likely running on the target.
Installation
Prerequisites
$ sudo pip install cherrypy
$ sudo pip install mako
Download SpiderFoot
$ cd ~/tools/
$ wget http://downloads.sourceforge.net/project/spiderfoot/spiderfoot-2.0.2-src.tar.gz
$ tar xzvf spiderfoot-2.0.2-src.tar.gz
Usage
Start SpiderFoot server
SpiderFoot web server is based on CherryPy. To run SpiderFoot, simply issue following command:
$ python ./sf.py
Without parameters specified, it will run a local web server (127.0.0.1) on port 5001. Simply point your browser to http://127.0.0.1:5001.
By default, the GUI shows the list of scans.
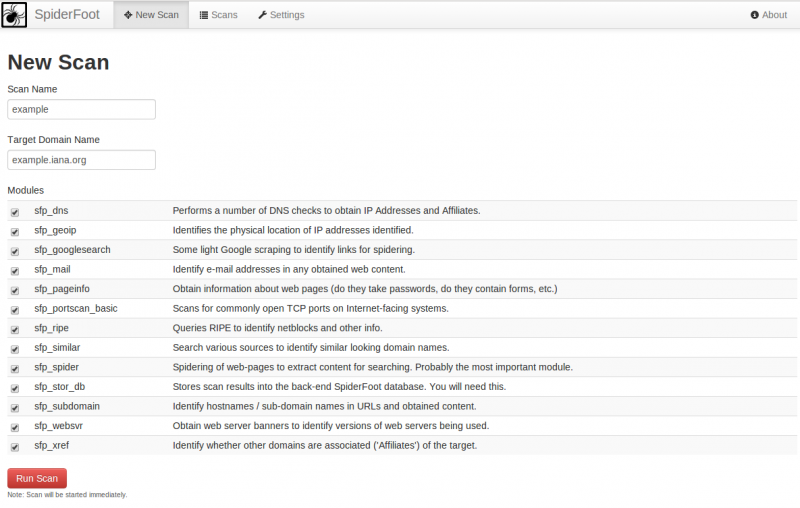
Run a new scan
To run a new scan, click on New Scan, provide a scan name, a target (an IP address or a domain name), check the modules you want to run for the scan and click on the Run Scan button.
Scans tab
List scans
The default view when you click on the scans tab is the list of existing scans:
From this view, you can:
- Open the details (click on the scan name)
- Abort a scan (click on the square icon from the action column)
- Delete a scan (click on the trash icon from the action column)
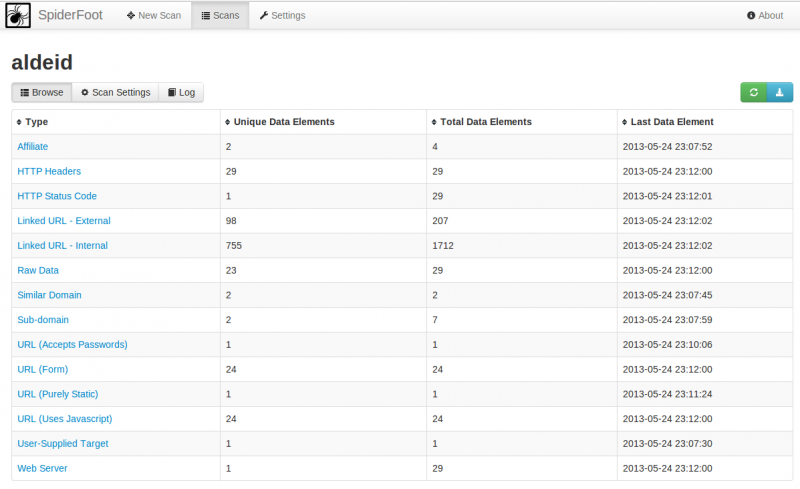
Scan details: browse
This view shows the details of the scan with the number of elements (unique and total) found for each module.
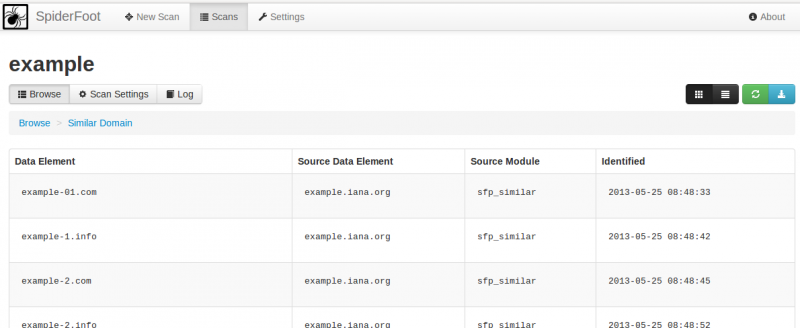
By clicking on a module, you can view the details:
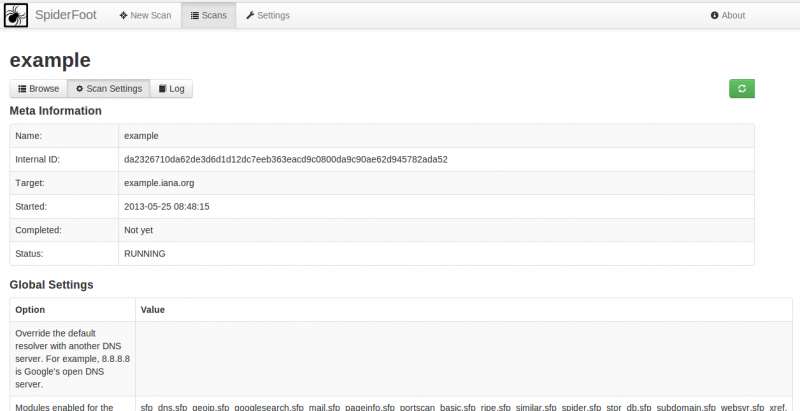
Scan details: scan settings
This tab shows the settings used for the scan:
Scan details: Log
This tab shows the log entries (list of requests sent, results, errors, ...) for the scan:
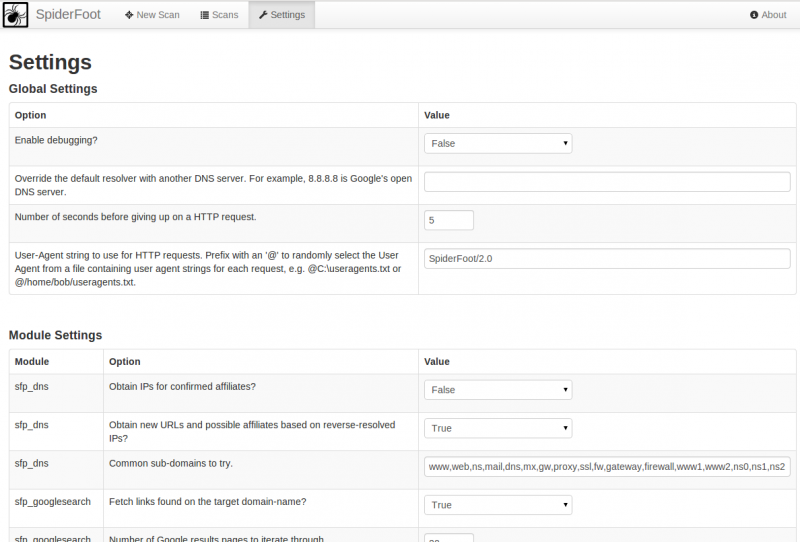
General settings
This tab shows the settings that will be used to run a scan:
