WAF-FLE
Description
WAF-FLE is a frontend to modsecurity. These are some notes to perform a quick installation. For a more detailed procedure, please refer to the official documentation.
Screenshots
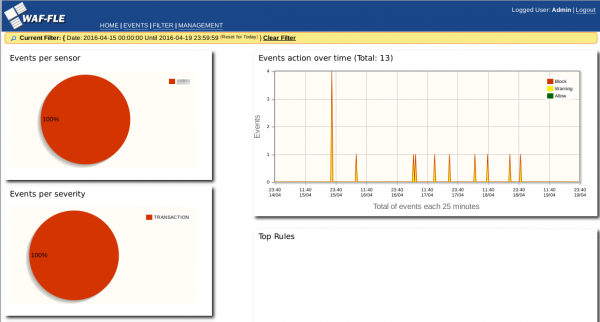
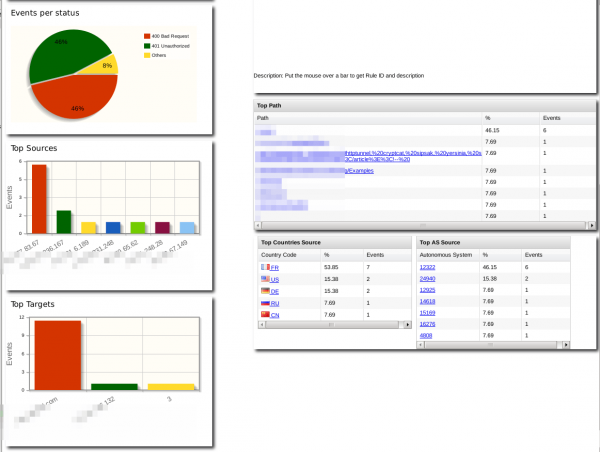
Home
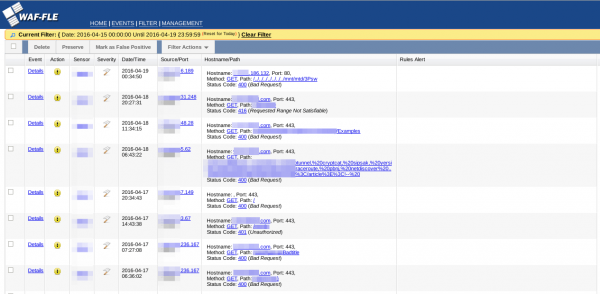
Events
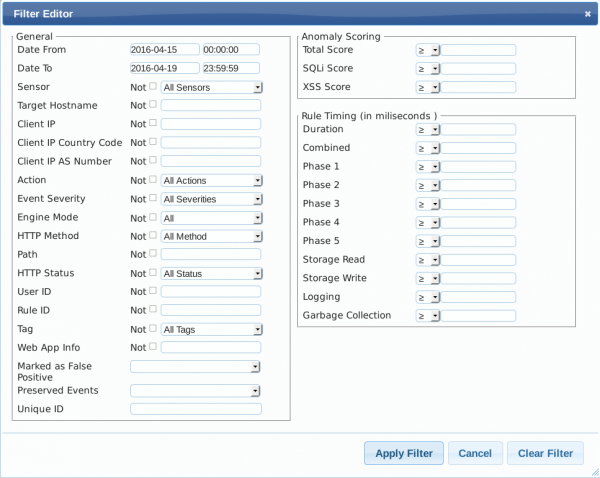
Filters
Installation
GeoIP
$ sudo aptitude install php5-geoip
$ sudo mkdir /usr/share/GeoIP/
$ cd /usr/share/GeoIP/
$ wget http://geolite.maxmind.com/download/geoip/database/GeoLiteCountry/GeoIP.dat.gz
$ wget http://geolite.maxmind.com/download/geoip/database/GeoLiteCountry/GeoLiteCity.dat.gz
$ wget http://geolite.maxmind.com/download/geoip/database/GeoLiteCountry/GeoIPASNum.dat.gz
$ gzip -d GeoIP.dat.gz
$ gzip -d GeoLiteCity.dat.gz
$ gzip -d GeoIPASNum.dat.gz
$ mv GeoLiteCity.dat GeoIPCity.dat
$ cp GeoIPASNum.dat GeoIPISP.dat
WAF-FLE
$ cd /data/src/
$ wget http://waf-fle.org/downloads/waf-fle_0.6.4.tar.gz
$ tar xzvf waf-fle_0.6.4.tar.gz/
$ sudo mv waf-fle_0.6.4/ /usr/local/
$ cd /usr/local/
$ sudo ln -s waf-fle_0.6.4 waf-fle
Now, install the Apache configuration:
$ sudo cp /usr/local/waf-fle/extra/waf-fle.conf /etc/apache2/conf-available/
$ sudo ln -s /etc/apache2/conf-available/waf-fle.conf /etc/apache2/conf-enabled/
If you're using Apache 2.4, remove the comments in front of the Require all granted instructions in /etc/apache2/conf-enabled/waf-fle.conf.
Restart Apache:
$ sudo systemctl restart apache2
Copy the configuration file:
$ cd /usr/local/waf-fle/
$ cp config.php.example config.php
Now, adapt your configuration in /usr/local/waf-fle/config.conf. You should at least modify these variables:
$DB_HOST  = "localhost";
$DB_USER  = "waffle";
$DB_PASS  = "PassWord";
$DATABASE = "waffle";
Now continue the installation from http://<yourserver>/waf-fle/setup.php. Verify that prerequisites are installed and click on "Go! Create the database and user". You will be asked to provide the root credentials to your MySQL database.
Once the installation is finished, turn the parameter $SETUP to false in your config file:
# grep SETUP config.php
$SETUP = false;
Then click on "Login page". You should be able to login with:
- username = admin
- password = admin
You will be asked to change your password.
Sensor configuration
Add a sensor
To add a sensor, fill in the form as follows:

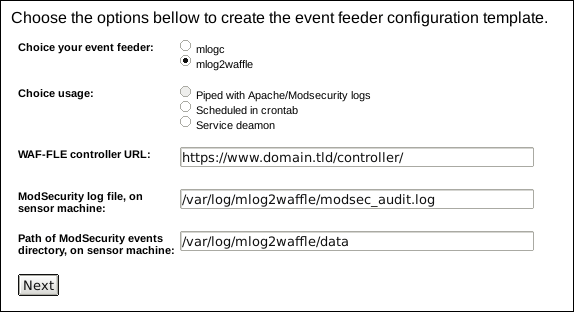
Generate configuration files
Then click on Event Feeder Wizard to generate configuration files.
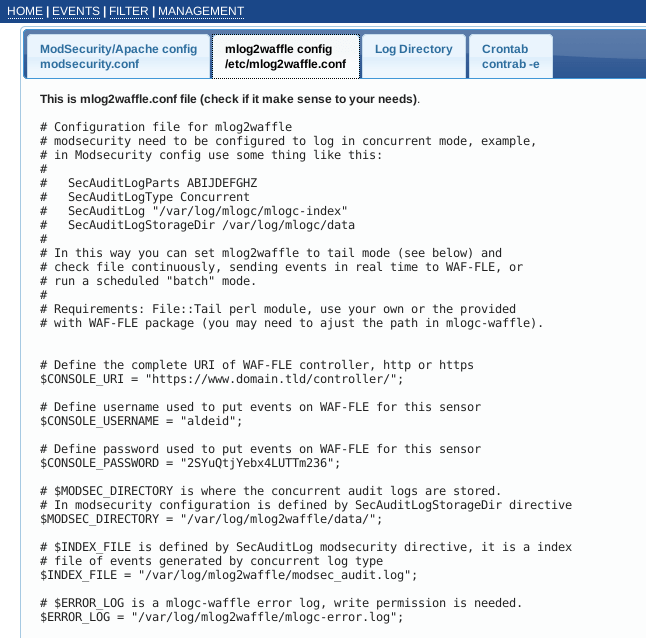
Proceed with all modifications mentionned in the next screen (it's self explicit).
Don't forget to create the repository for logs:
$ sudo mkdir -p /var/log/mlog2waffle/data/
Installation of mlog2waffle
Install the binary:
$ sudo cp /usr/local/waf-fle/extra/mlog2waffle/mlog2waffle /usr/sbin/
Install the cron job:
$ sudo cp /usr/local/waf-fle/extra/mlog2waffle/mlog2waffle.cron /etc/cron.d/
